How to Set Up Your Tapo Hub (Tapo H100)
Follow the steps below to set up your Tapo smart hub using the Tapo app.
Step 1. Download the Tapo App
Go to the Google Play or Apple App Store, or scan the QR code to download the Tapo app.

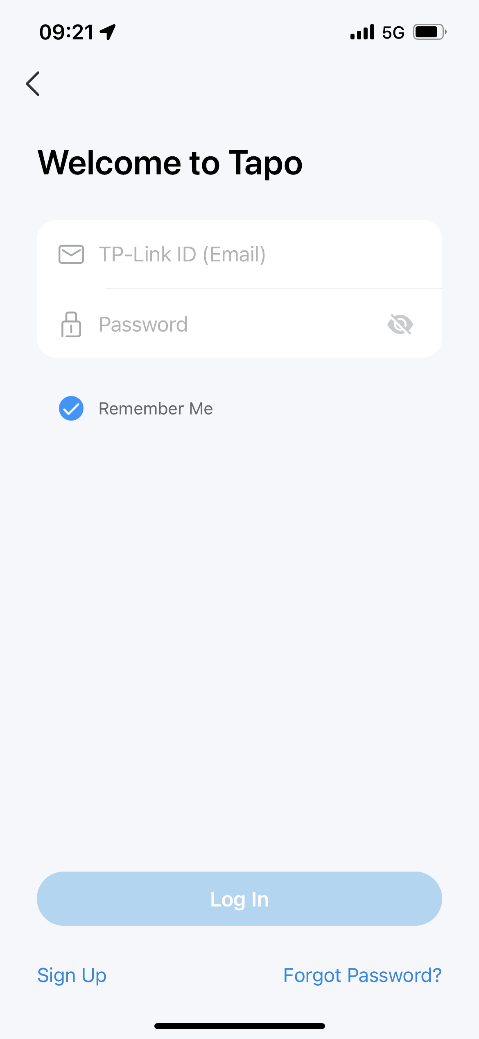
Step 2. Log In
Open the app and use your TP-Link ID to log in. If you don’t have a TP-Link ID, tap Sign Up to create one and the app will guide you through the rest.

Step 3. Set up the Hub
Note: Location permission is needed to find and connect to your hub during setup. When prompted, grant location permission. You can disable location permission after setup.
1. Tap the + button in the Tapo app, then select Add Device.

2. Select Hubs and then choose your product model.


3. Connect your Tapo Hub’s power cable and power it on. Wait until the LED blinks orange and blue before proceeding.

4. Navigate to the Wi-Fi settings of your phone or tablet and join your hub’s setup network (Tapo_Hub_XXXX), then return to the Tapo app.


5. The Tapo app will automatically attempt to discover your Tapo Hub.


6. Select your 2.4 GHz Wi-Fi network and enter its password when prompted. You can tap the eye icon to verify you have entered the correct password. Then tap Next to add your Tapo Hub to your home network.


7. Tap Join when prompted on the pop-up window, and pairing will begin.
Note: Make sure your phone/tablet is connected to the same Wi-Fi network as your Tapo hub.


8. When the network is connected and pairing is complete, give your Tapo hub a name, assign its location, and customize its icon so it can be easily identified.


9. Once setup is complete, check for the latest firmware and update for an optimal experience. Then, assign an update schedule for your hub.


10. Done! Your Tapo hub is ready for use. Now you can manage your Tapo hub via the Tapo app anytime, anywhere.
Note: You can continue to add Tapo sensors, buttons, switches and more. Alternatively, you may add the accessories by tapping the + icon on the home page later.


Is this faq useful?
Your feedback helps improve this site.
1.20_normal_20240207030034i.png)
TP-Link Community
Still need help? Search for answers, ask questions, and get help from TP-Link experts and other users around the world.