How to setup OpenVPN on TP-Link Routers (iOS)
OpenVPN is a free VPN (virtual private network) service that allows you to remotely access your home network from anywhere with an open internet service. OpenVPN is a multiplatform service that works with both Android and iOS operating systems, allowing you to access devices and services in use through your router.
This article will take you through the steps needed to create and establish an OpenVPN connection with your TP-Link router.
*Note:
Verify router/modem has a public WAN IP address that is not bounded by ISP; if it’s a private IP address, that means the router/modem is behind a NAT, please open the ports for the router/modem on the NAT.
But for the CG-NAT ISP: Comporium and Direct link - radio service, provide the customer a private IP, that will cause you can’t use the OpenVPN and affect the NAT Type. You can contact the ISP and ask them to offer a Statis IP address.
Setting up OpenVPN on a TP-Link Router
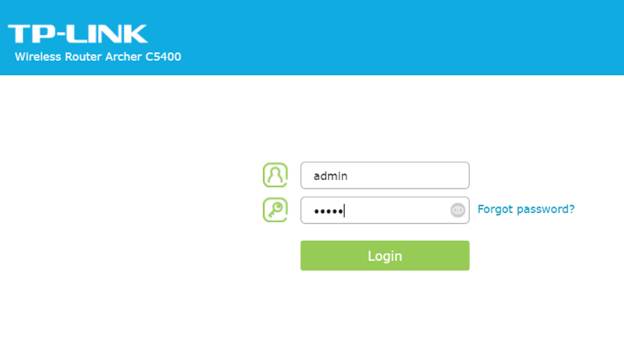
(This example uses the Archer C5400)
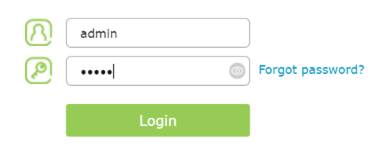
Step 1: Log into your router using tplinkwifi.net. The default username and password are admin.
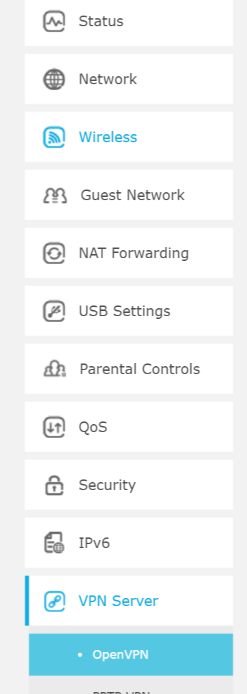
Step 2: Click Advanced on the top navigation bar.

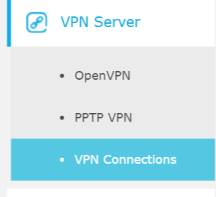
Step 3: Click VPN Server, then OpenVPN.
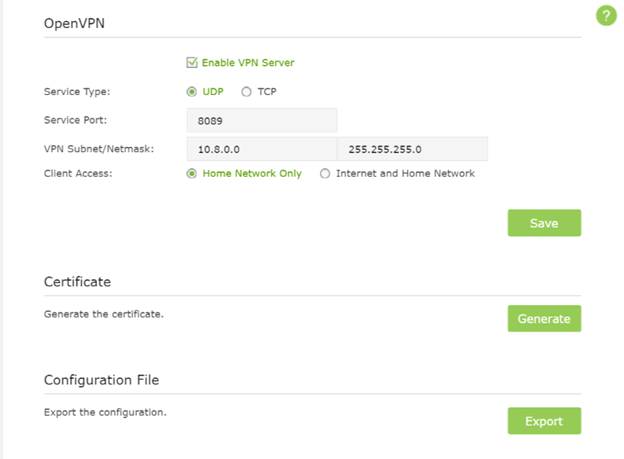
Step 4: Click Certificate to generate a certificate.
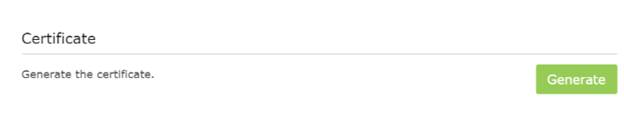
Note: This step must be completed before enabling OpenVPN.
Step 5: Check the Enable VPN Server box, then fill in the following information as prompted. Click Save.
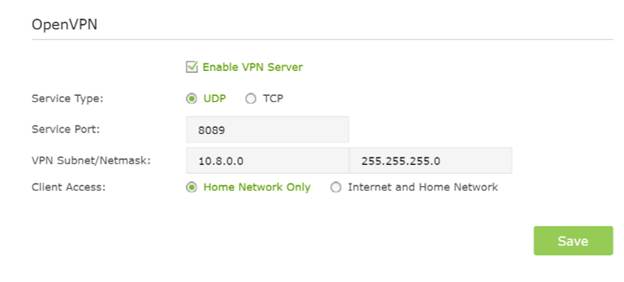
Note: What you select for Client Access will determine the content you are able to view over the VPN. Internet and Home Network will allow you to use your home internet service as well as access to your network shares. Home Network Only solely grants access to your network’s shared files and drives without home internet service accessibility.
Step 6: Click Export to download the desired files to your computer.
Connecting OpenVPN (iOS)
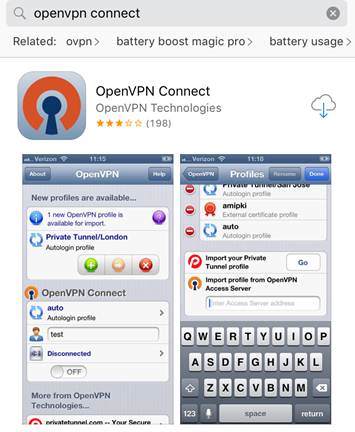
Step 1: Download the OpenVPN Connect app from the App store.
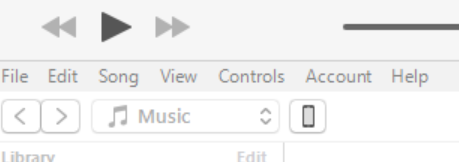
Step 2: Connect your IOS device to your computer and open iTunes.
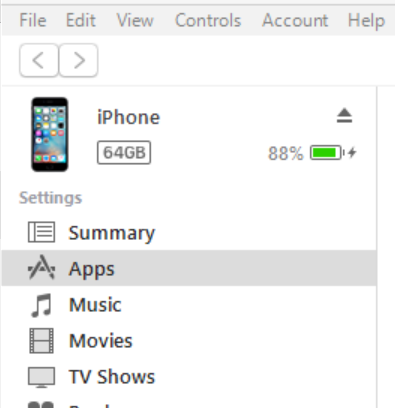
Step 3: Click the iPhone button next to where the dropdown selection for music is (upper right corner).
Step 4: Select Apps on the left menu bar and wait for the list to populate.
Step 5: Navigate to the File Sharing section and select the OpenVPN app.

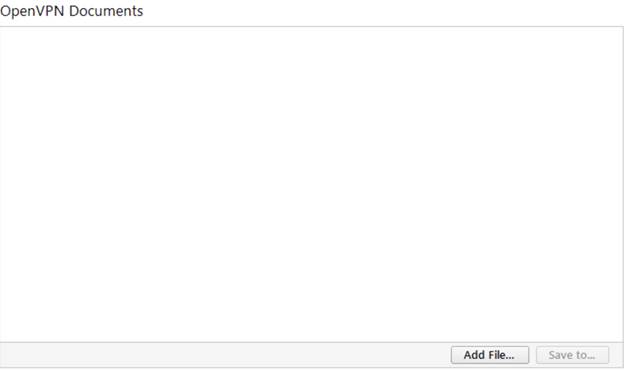
Step 6: Navigate to OpenVPN Documents on the right and click Add File at the bottom.
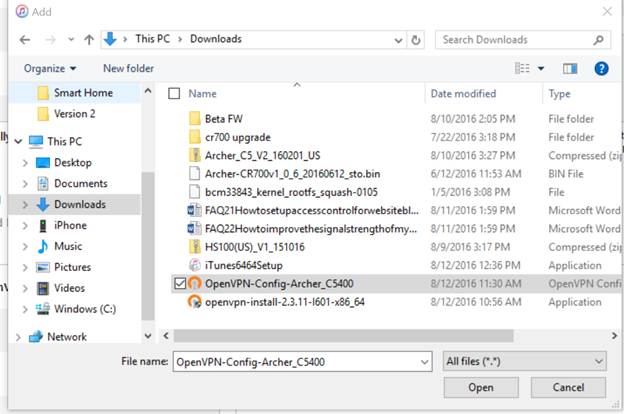
Step 7: Locate the OpenVPN certificate you exported to your computer and click Open.
Step 8: Click Sync on the bottom right.

Step 9: Once the sync is complete, you may safely disconnect your iOS device from your computer.
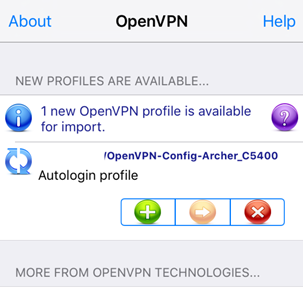
Step 10: With your iOS device, launch the OpenVPN app. Tap the green ‘+’ to add the certificate.
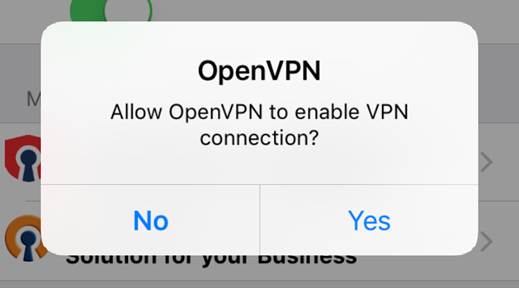
Step 11: Slide the switch to connect the VPN and select Yes to confirm.
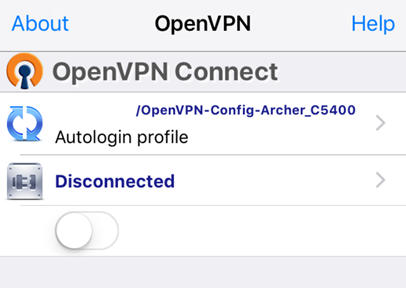
Step 12: If connection is successful, a window similar to the following will appear.

You are now connected to your home network via VPN. To verify, you can visit the VPN connections window in your router settings.

¿Es útil esta pregunta frecuente?
Sus comentarios nos ayudan a mejorar este sitio.
2.0&(US)3.0&A1200(EU)1.0-F_normal_1584493588982a.png)
