How to install Print Server manually on Ubuntu OS
This Article Applies to:
*System Information: Ubuntu OS, Version 11.4
Printer Model No.: Epson Stylus Photo 720
Below is a topology of normal network and taken as example in this guidance.
.jpg)
The Default IP of the print server is 192,168.0.10. Before doing the settings, please prepare the IP of the router. Normally, it’s the gateway of your computer.
In this guidance, 192.168.1.1 is assumed as the IP of the router. If your router's IP is 192.168.0.x (x is between 1~254), you can start with step 4.
Step 1 Connect your PC to the print server with an Ethernet cable directly. On your Ubuntu PC, click Network Connection icon and go to Edit Connections.
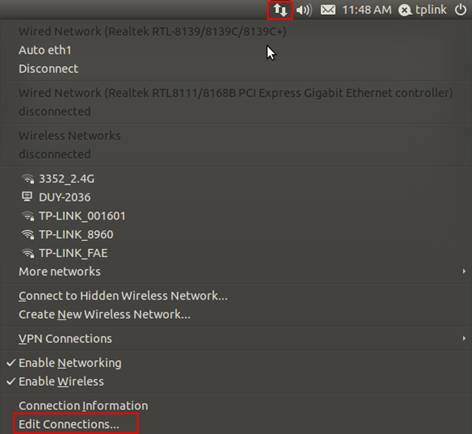
Then select your network adapter and click Edit.
Step 2 Go to IPv4 Settings and select the Method as Manual, type in the IP parameters. You can type the address like the picture show below.
Step 3 Open the web browser (like Firefox) and type http://192.168.0.10 in the address bar. Then please go to Setup->TCP/IP page, change the IP to 192.168.1.10 and click Save & Restart button.
Step 4 Connect the printer to Print Server and Print Server to one LAN port of your router. Connect your Ubuntu PC to your router with wire or wireless.
Go to Edit Connections again, change the IPv4 Settings back to Automatic(DHCP).
You can try to open the web page http://192.168.1.10 to check whether they can communicate each other. If you can open it successfully, please do the configurations below.
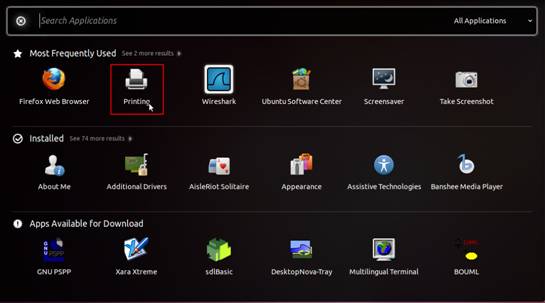
Step 5 At the left side of the window, click All Applications. In the coming black window, please search for Printing.
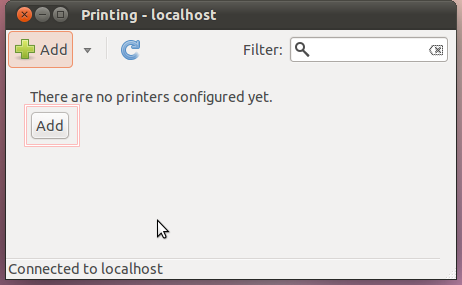
In the new window, please click Add to add a printer.
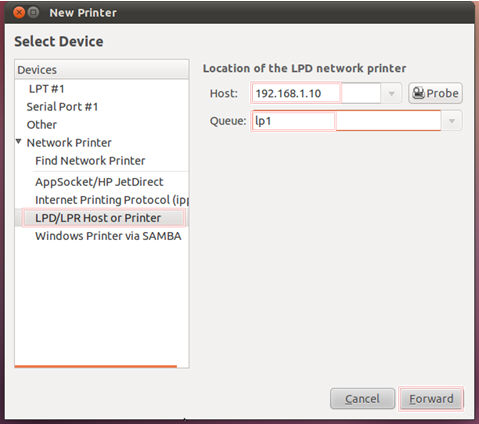
Step 6 Choose Network Printer-> LPD/LPR Host or Printer at the left side and configure the options as the following, then click Forward.
Ø Host: 192,168.1.10 (The IP of printer server)
Ø Queue: lp1
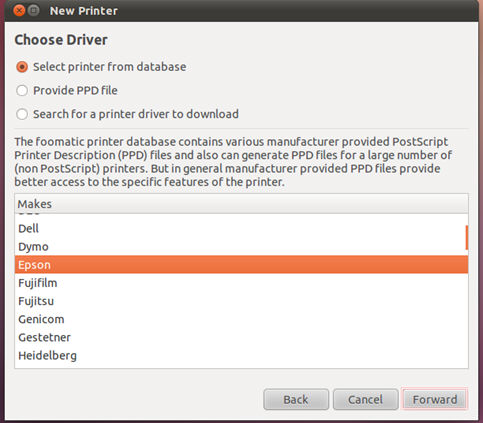
Step 7 Choose the driver of printer.
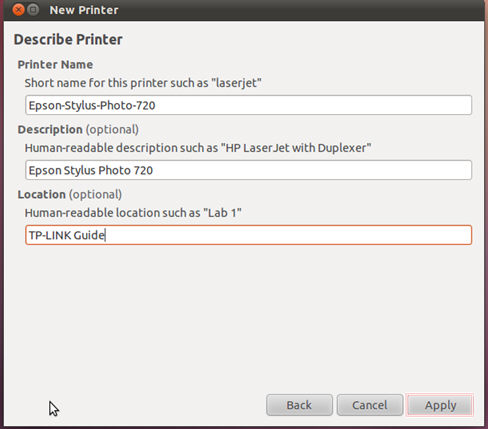
Step 8 Enter the information of the new printer and click Apply.
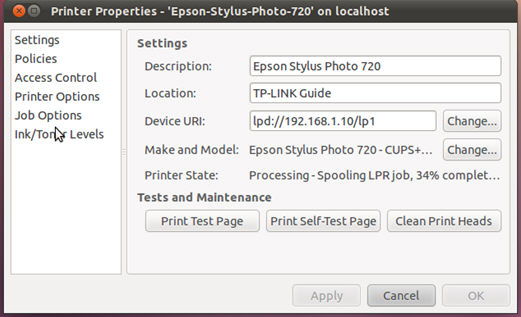
Until now, you have finished the installation on Ubuntu OS successfully. Please print a test page to check whether it can work properly. Any problem, please feel free to contact us support@tp-link.com .
Полезен ли беше този ЧЗВ?
Вашите отзиви помагат за подобряване на този сайт.