How to configure Router Mode of High Power Wireless N Router (new logo)

TL-WR941HP( V2 )
Recent updates may have expanded access to feature(s) discussed in this FAQ. Visit your product's support page, select the correct hardware version for your device, and check either the Datasheet or the firmware section for the latest improvements added to your product. Please note that product availability varies by region, and certain models may not be available in your region.
This mode enables multiple users to share internet connection via ADSL/Cable Modem.
Here we take TL-WR941HP for demonstration.
1. Follow the steps below to connect your router. If your internet connection is through an Ethernet cable from the wall instead of through a DSL / Cable / Satellite modem, connect the Ethernet cable directly to the router’s WAN port, and then follow Step 4 and 5 to complete the hardware connection.
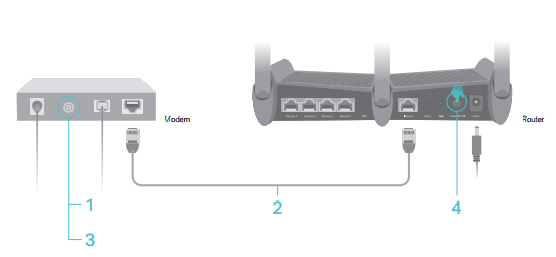
1) Turn off the modem, and remove the backup battery if it has one.
2) Connect the modem to the WAN port on your router with an Ethernet cable.
3) Turn on the modem, and then wait about 2 minutes for it to restart.
4) Connect the power adapter to the router and turn on the router.
5) Verify that the hardware connection is correct by checking these LEDs.
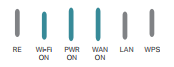
Tips: If the Wi-Fi LED is off, press and hold the Wi-Fi On/Off button until it is on.
2. Log into the router. If you don’t know how to do that, please refer to
How do I log into the web-based Utility (Management Page) of TP-Link wireless router?
After successful login, follow the step-by-step instructions to complete the initial configuration.
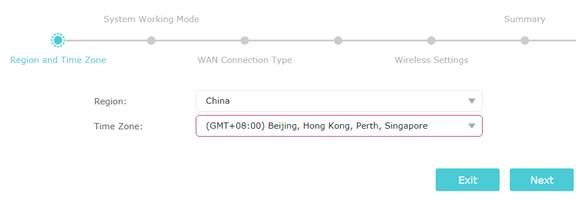
2. Choose Region and Time Zone. Click Next.
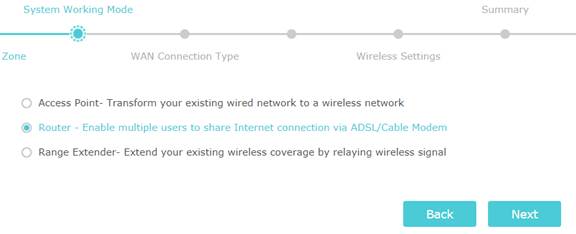
3. Select Router. Click Next.
4. Select WAN Connection Type. If you are not sure, contact your ISP or click Auto Detect. Click Next.
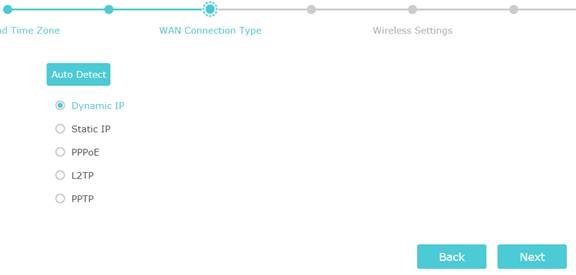
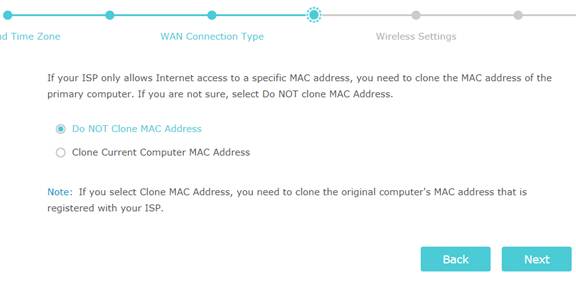
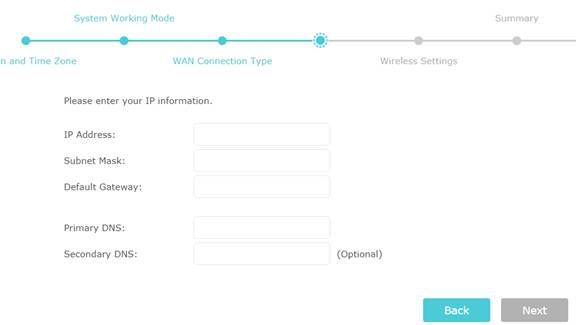
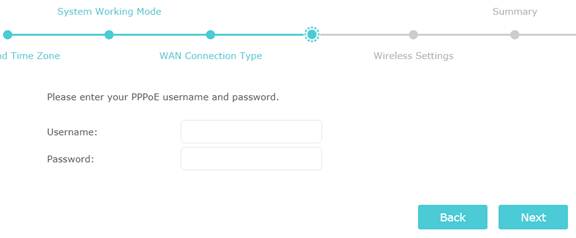
5. Fill in the parameters accordingly. If you don’t know what to enter, contact your ISP. Click Next.
Dynamic IP
Static IP
PPPoE
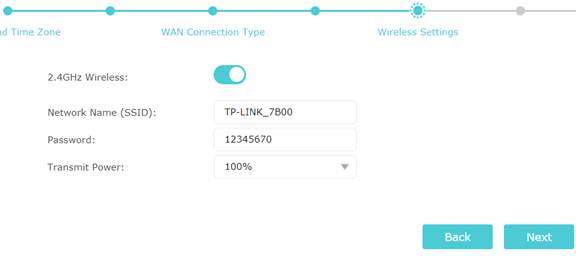
6. Either keep the default Wireless Network Name and Password or customize. Click Next.
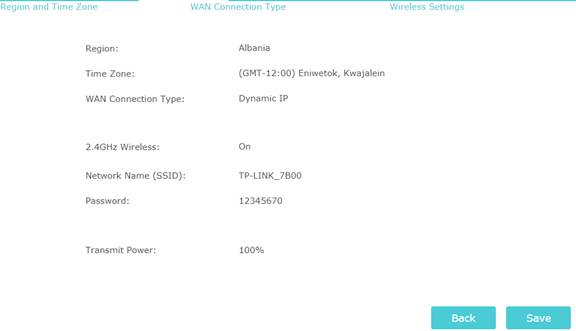
7. Confirm your settings. Click Save.
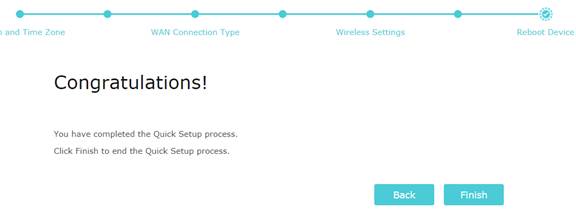
Wait for the router to reboot.
8. Click Finish.
Enjoy!
For wireless devices, you may have to reconnect to the wireless network if you have customized the SSID (network name) and password during the configuration.
Get to know more details of each function and configuration, please go to Download Center to download the manual of your product.
Is this faq useful?
Your feedback helps improve this site.
What’s your concern with this article?
- Dissatisfied with product
- Too Complicated
- Confusing Title
- Does not apply to me
- Too Vague
- Other
Thank you
We appreciate your feedback.
Click here to contact TP-Link technical support.
Recommend Products

TP-Link Community
Still need help? Search for answers, ask questions, and get help from TP-Link experts and other users around the world.
This website uses cookies to improve website navigation, analyze online activities and have the best possible user experience on our website. You can object to the use of cookies at any time. You can find more information in our privacy policy . Don’t show again
Basic Cookies
These cookies are necessary for the website to function and cannot be deactivated in your systems.
TP-Link
accepted_local_switcher, tp_privacy_base, tp_privacy_marketing, tp_smb-select-product_scence, tp_smb-select-product_scenceSimple, tp_smb-select-product_userChoice, tp_smb-select-product_userChoiceSimple, tp_smb-select-product_userInfo, tp_smb-select-product_userInfoSimple, tp_top-banner, tp_popup-bottom, tp_popup-center, tp_popup-right-middle, tp_popup-right-bottom, tp_productCategoryType
Livechat
__livechat, __lc2_cid, __lc2_cst, __lc_cid, __lc_cst, CASID
Youtube
id, VISITOR_INFO1_LIVE, LOGIN_INFO, SIDCC, SAPISID, APISID, SSID, SID, YSC, __Secure-1PSID, __Secure-1PAPISID, __Secure-1PSIDCC, __Secure-3PSID, __Secure-3PAPISID, __Secure-3PSIDCC, 1P_JAR, AEC, NID, OTZ
Analysis and Marketing Cookies
Analysis cookies enable us to analyze your activities on our website in order to improve and adapt the functionality of our website.
The marketing cookies can be set through our website by our advertising partners in order to create a profile of your interests and to show you relevant advertisements on other websites.
Google Analytics & Google Tag Manager
_gid, _ga_<container-id>, _ga, _gat_gtag_<container-id>
Google Ads & DoubleClick
test_cookie, _gcl_au
Meta Pixel
_fbp
Crazy Egg
cebsp_, _ce.s, _ce.clock_data, _ce.clock_event, cebs
lidc, AnalyticsSyncHistory, UserMatchHistory, bcookie, li_sugr, ln_or